If you’ve ever messed around with sound settings on your Windows 11 PC, you’ll likely have seen the words Realtek audio driver pop up in a context menu. Now, drivers are incredibly important because of what they do. Essentially, a driver is a piece of software that lets your Windows 11 OS communicate effectively with the various bits of hardware you have installed and/or connected to your PC. Therefore, if your Realtek audio driver is faulty, your Realtek onboard audio system won’t work.
The article below will explore how to effectively and easily repair your Realtek audio drivers on Windows 11.
What’s wrong with your Windows 11 Realtek driver?
There are numerous reasons why your Realtek audio driver may be faulty. However, most of these can be narrowed down to four main causes:
- Your audio driver is outdated
- You have incompatible audio enhancements connected to your PC
- Your audio settings are faulty
- There’s a conflict between your audio driver and your Windows 11 OS
Luckily, because there are numerous reasons why your Realtek audio driver may not be working, there are also numerous methods you can use to repair them. We’ll cover those methods in detail below.
How to fix Realtek audio drivers on Windows 11
Method 1: Update your Realtek drivers

The first thing you should verify is that your drivers are up to date. If your drivers are out of date, they can cause havoc with your sound card. If you check who manufactured your PC’s sound card, you can head to their website and update your drivers from there. You can also update your audio drivers automatically. Here’s how:
Head to the search bar on your taskbar and search for Device Manager.
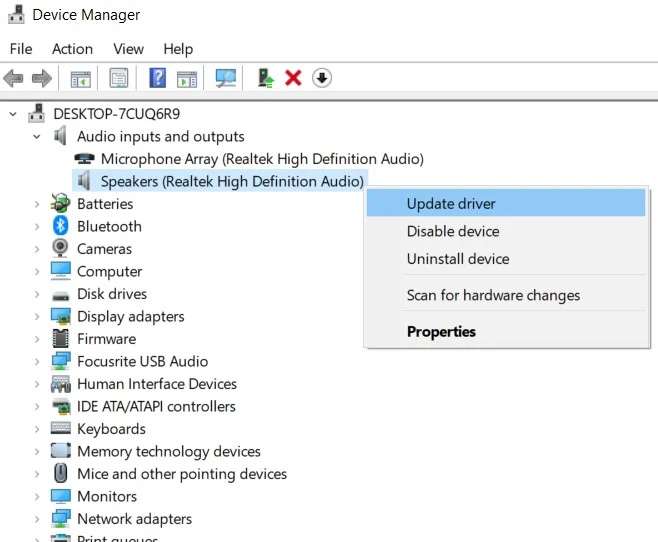
In the Device Manager, find and click on Audio input and outputs.
Next, you need to hit Speakers and then, click Update Driver.
From here, hit Search automatically for updated driver software.
Method 2: Uninstall and reinstall the audio drivers

Sometimes, simply updating the drivers isn’t going to be enough. However, in these situations, you can uninstall and reinstall the drivers from scratch. Here’s how:
First, right-click on your Start menu and head to Device Manager.
Next, hit on Sound, video, and game controllers.
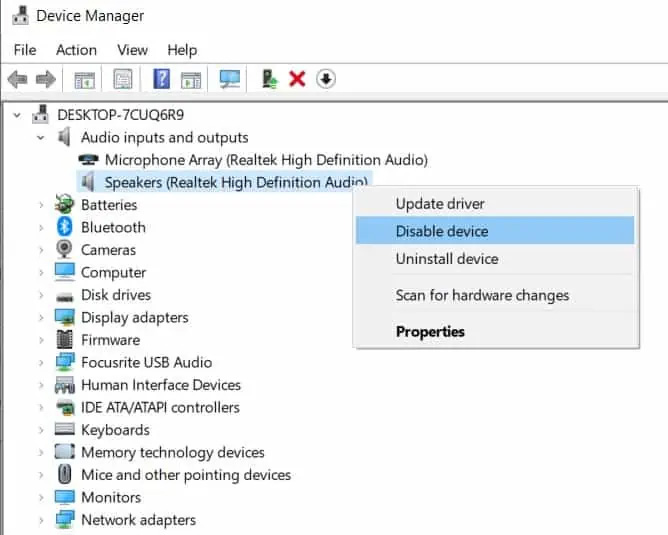
Right-click where you see Realtek High Definition Audio.
Now, scroll down to Uninstall device, and place a checkmark next to Delete the driver software for this device.
Next, click on Uninstall.
Now you’ll need to install the audio drivers again. For this, you’ll need to go to the official Realtek audio website and download a new driver.
Once the download starts, you’ll see the file in your browser’s downloads.
All you need to do is click on the file and it’ll start the installation. Finish the installation by following the on-screen prompts.
Audio restored
Most things that go wrong with your PC are fixable. Audio driver issues are no different. As you can see, it’s relatively easy to repair and restore the functionality of your Realtek audio drivers. And, if all else fails, simply reset your Windows 11 device.
Thank you for being a Ghacks reader. The post How to easily fix your Realtek audio driver in Windows 11 appeared first on gHacks Technology News.


0 Commentaires